
This project is one that I’ve had pinned forever, but just never got around to doing. I’m not sure if I thought it would be too hard or take too much time but if I would have known how easy it was I would have made it sooner.
There wasn’t one particular tutorial I followed and instead I found a couple different one and took tips from each of them. Hopefully mine is pretty comprehensive and won’t leave you with a bunch of questions like some of the tutorials I found.
What You Need:
-1x10x6 piece of wood (if you think your child might be taller than 6ft, you can get a 1x10x8 and keep the length or have them cut it to a 1x10x7
Note: Both Lowe’s & Home Depot will cut your wood for free.
-Wood Stain (I used Minwax in Dark Walnut #2716)
-King Size Sharpie Permanent Marker
-Small piece of chalk
-Measuring Tape
-Sandpaper
-Wide Foam Brush
-Peel off Number Stickers (I used mailbox numbers from Lowes)
Note: Make sure you get the non-relfective ones.
What To Do:
1. Begin by lightly sanding the edges of the board until smooth. This will prevent you or your kids from getting little splinters and gives it a more finished look.
2. Paint the board in one coat of stain. Go with the the grain and wipe off quickly with a paper towel or cloth.
3. Let the first coat dry for about an hour then apply a second coat. If your wood has little knots or imperfections the stain will soak into those areas more. I happen to love that look, but you could always try to sand those out if you don’t. Don’t forget to coat the sides as well. I found one coat was enough for those.

4. Let the second coat completely dry overnight.
5. Once the board is dry (shouldn’t be sticky to the touch) bust out that tape measurer. Lay the tape measurer the entire length of the board and using chalk, VERY lightly mark every inch until you’ve done the whole board.


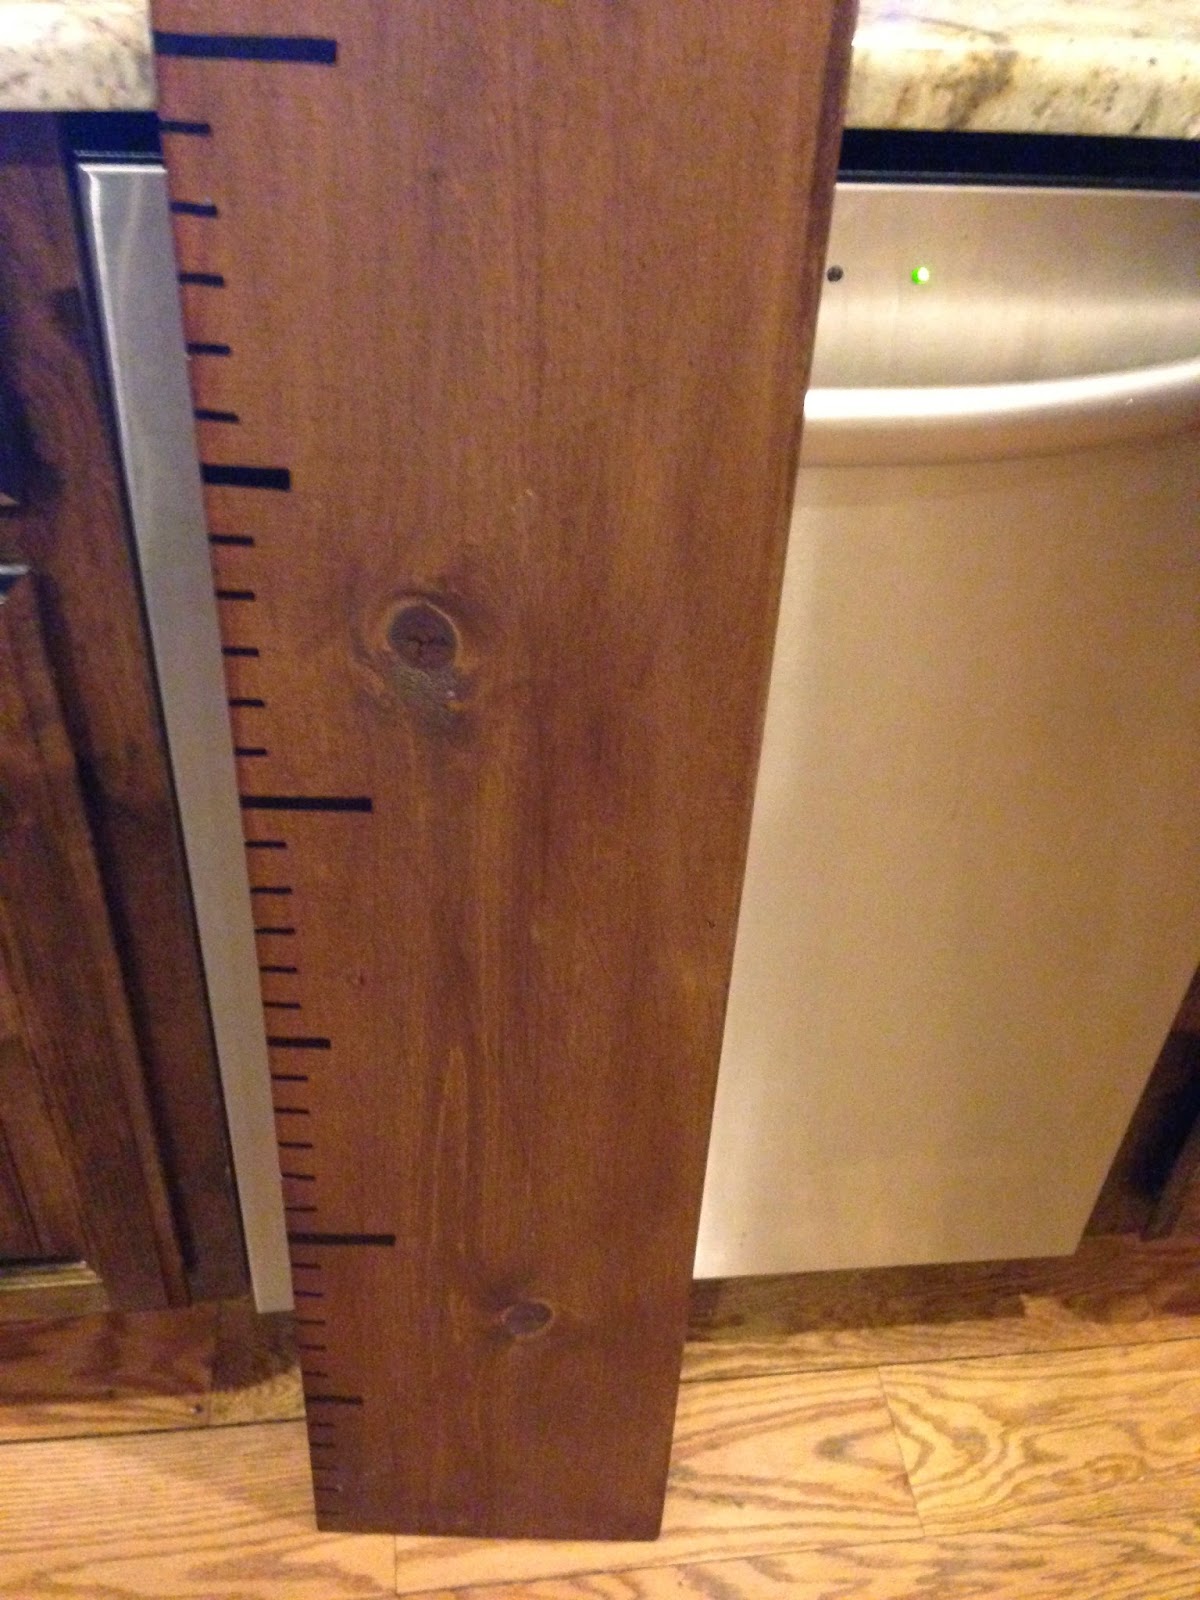
6. Once I was sure the actual spacing was correct, I went through and marked how long each line would extend from the edge of the board. I did the following:
All inch marks were a 1/2 inch in length
Every 1/2 ft(6th inch) was 1 inch in length
Every foot was 2 inches in length
These lengths are what I happened to like, but you can really do whatever.


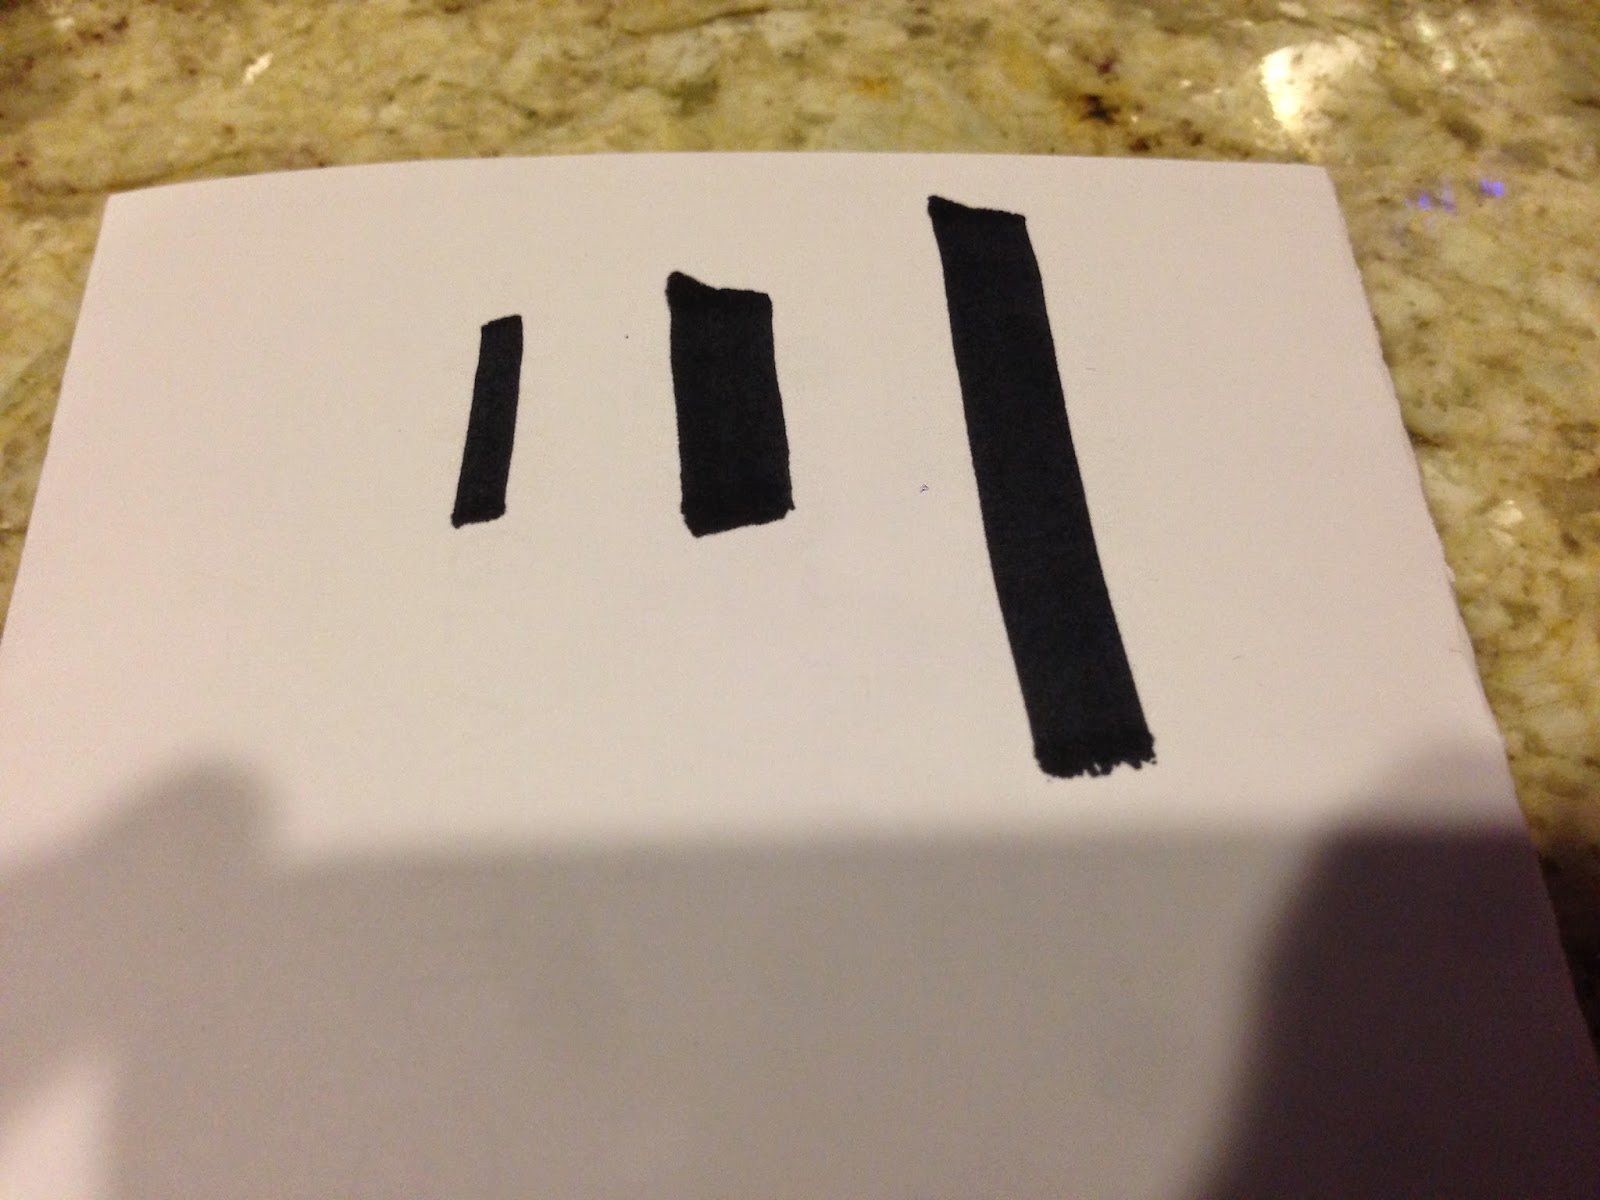
7. Once the chalk lines were where I wanted them, it was time to trace over them with the permanent marker. I practiced on a piece of paper before I actually did it on the board. I did thinner lines for the inch marks, a little thicker for 6 inches and super thick for the ft. marks. Just know the lines won’t be perfect, but it will be ok:)

8. Once all the lines are traced, stand the board up and fix/straighten out any of the lines that aren’t quite right.
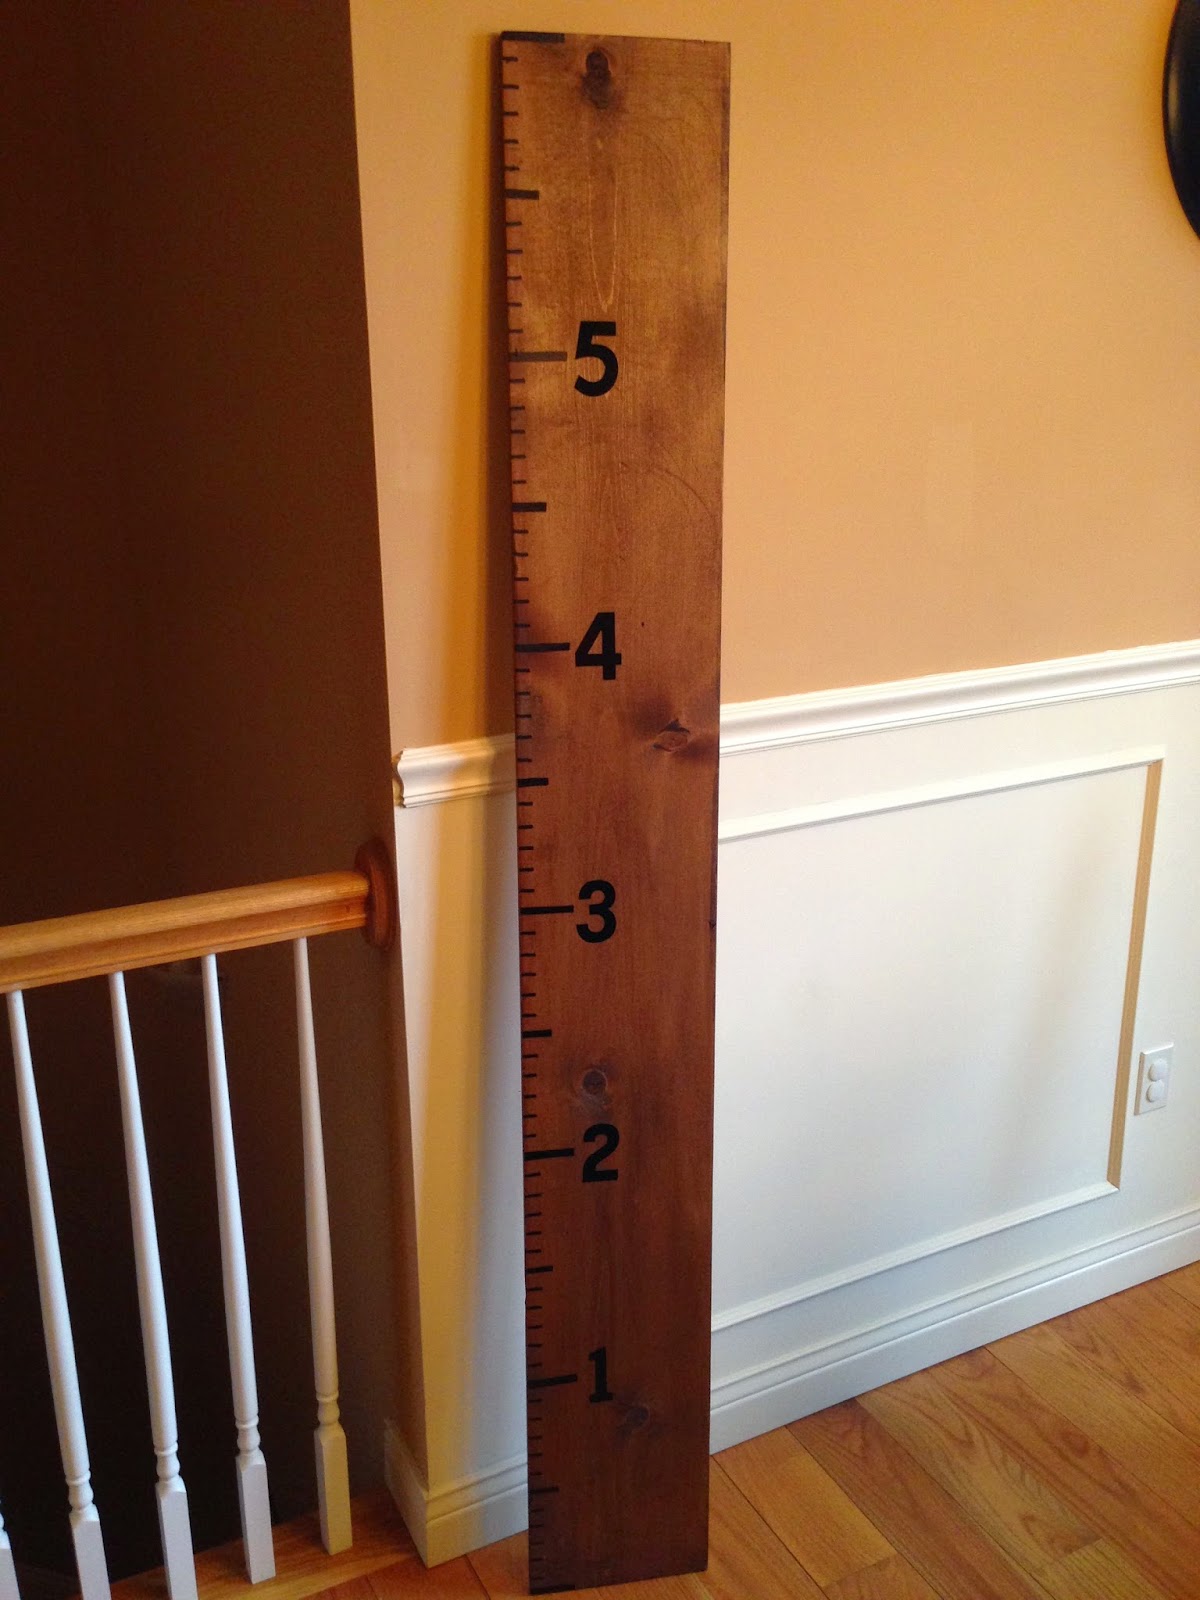
9. Now comes the easiest part. Place your stickers next to each foot mark. I had 5 stickers, but my board goes up to 6 ft. I bought a 6ft sticker and tried it out, but didn’t like how it looked. I ended up adding a 6ft line at the very top of the board, but didn’t put the number 6.


And there you have it! We’re waiting to hang it until we move into the new house, but I can’t wait to see how it will look! I plan to use a white/silver sharpie to mark the kids’ heights.
P.S. If you haven’t been keeping up with your child’s heights, you can call your pediatrician’s office and get their heights from their well visits.
Linking up with Annie for Thoughts on Thursday.


4 Comments
Kaitlin Goodall
That is SO CUTE!!!!! We were just talking the other day about how we should be doing that. So creative!
admin
Thanks! I've been wanting to do it forever and just starting it was the hardest part:)
Megan Parker
So cute! Love an easy DIY project. Stopping by from the link up.
admin
Thank you! And thanks for stopping by:)