Want to know the great thing about baby showers? Besides the soon to be born baby and teeny tiny clothes baby showers also come with lots of projects and recipes. So without further adieu, here’s another one!
Once again, Jennifer was my inspiration for this DIY banner. The best part was that I already had all the materials except for the ribbon so this cost me next to nothing to make!
What You Need:
-Burlap (I have no idea how much since I already had some left over. I would say a yard depending on how big or small you want to make it)
-1 Sheet card stock or cardboard
-1 Sheet card stock or cardboard
-Thick black sharpie
-Letter stencils
-Scissors
-Ribbon
What To Do:
1. Start by cutting out a triangle template. This is what you’ll trace on the burlap and you can make it as big or as small as you want it.

2. Trace the triangle stencil onto the burlap. You’ll need one triangle per letter.

3. Cut out each triangle.

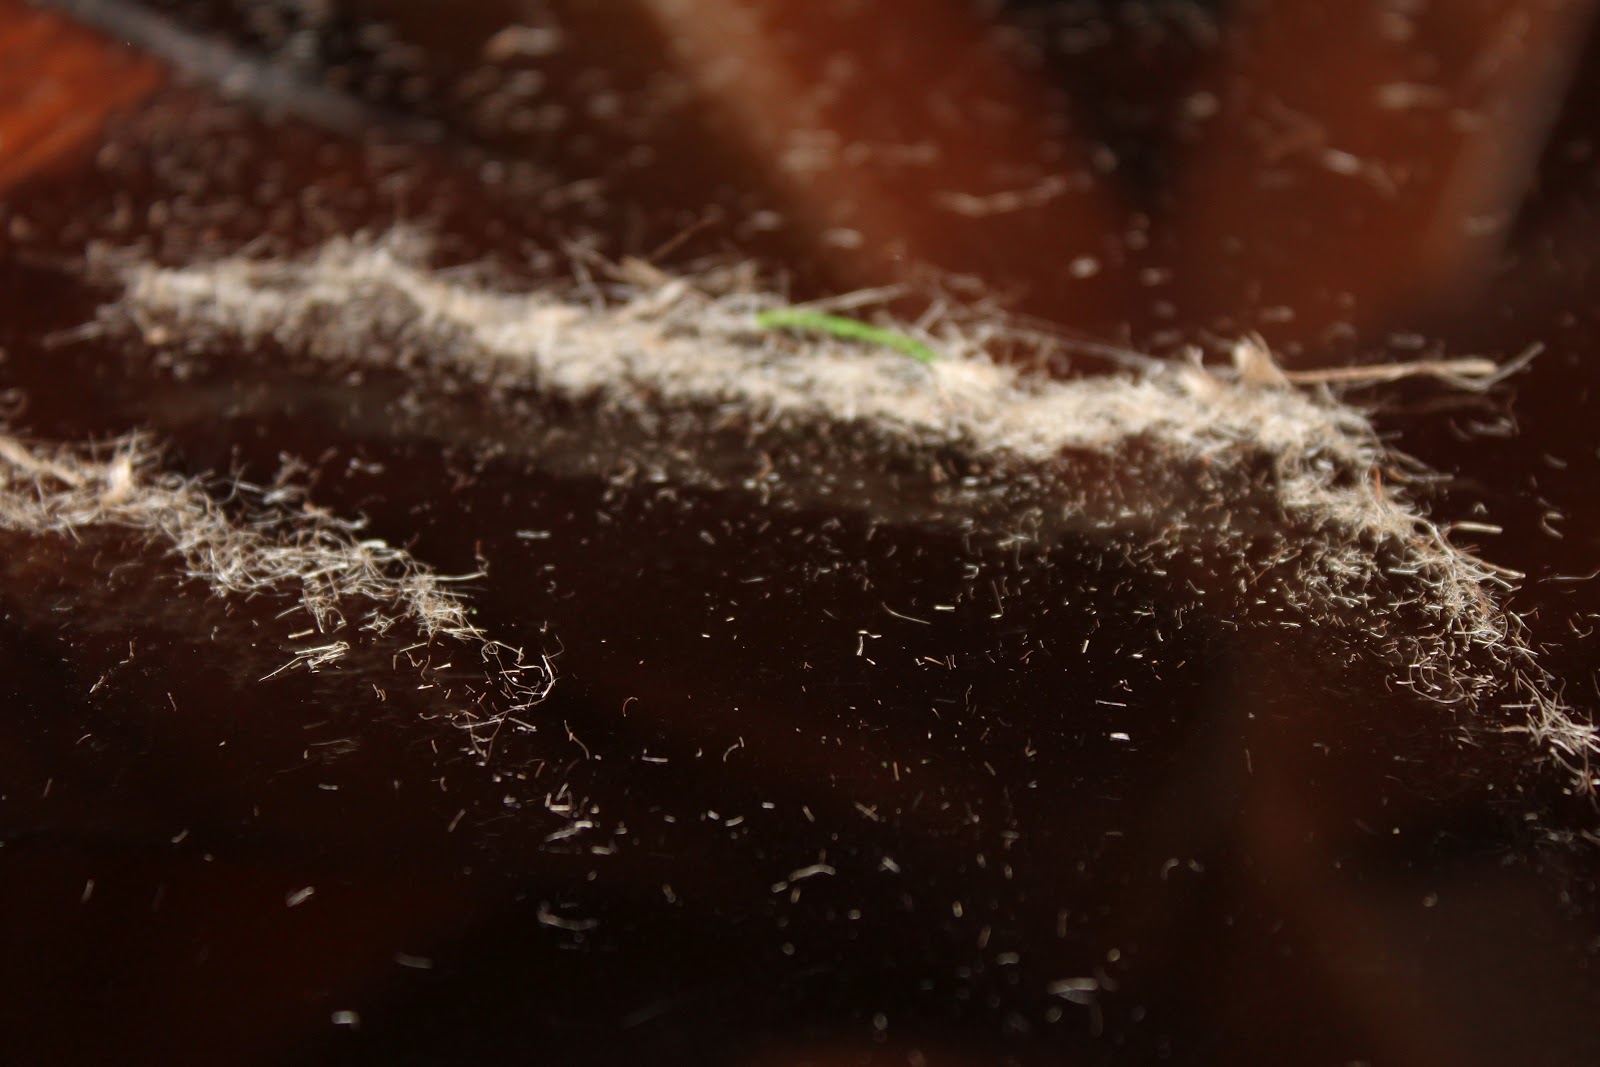
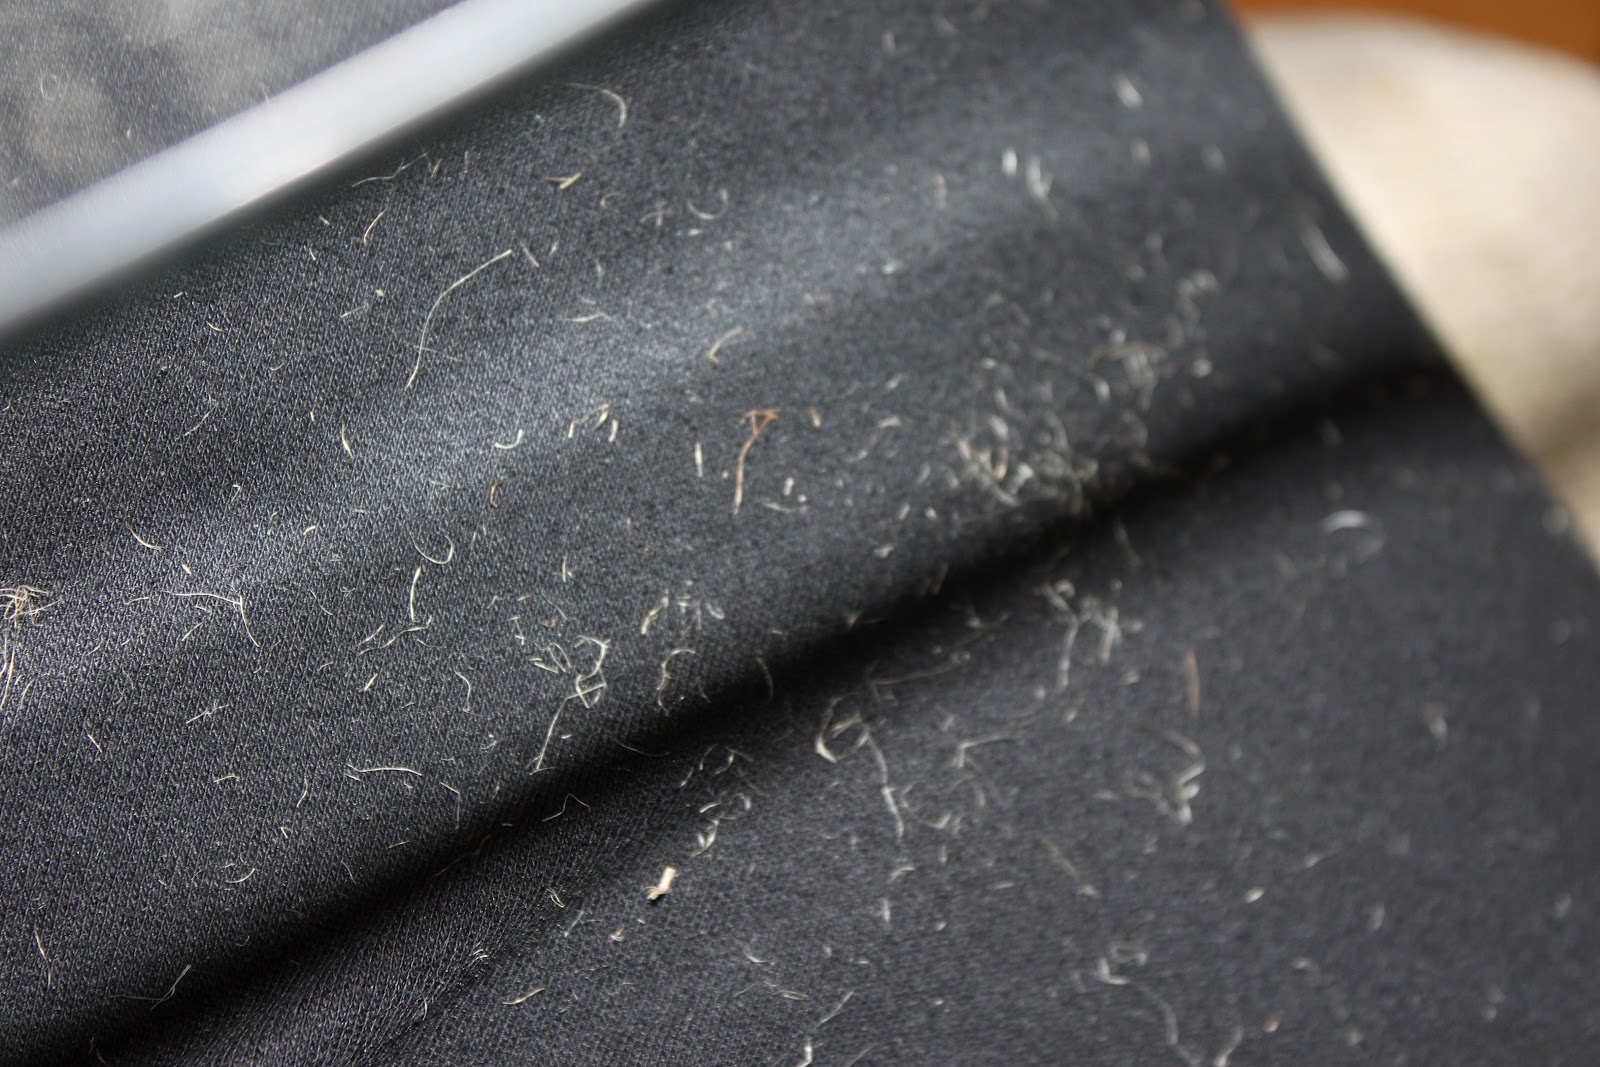
4. Wipe up the table and change clothes when you realize cutting burlap causes shedding.
5. With your new clothes on, trace your letter stencil onto the burlap. I used re-usable store bought stencils, but you could also make your own on the computer or with a cricket.

6. Color in the outline of the letter with a thick black sharpie. In Jennifer’s original post I think she used paint, but I found the sharpie to be way easier and less messy.

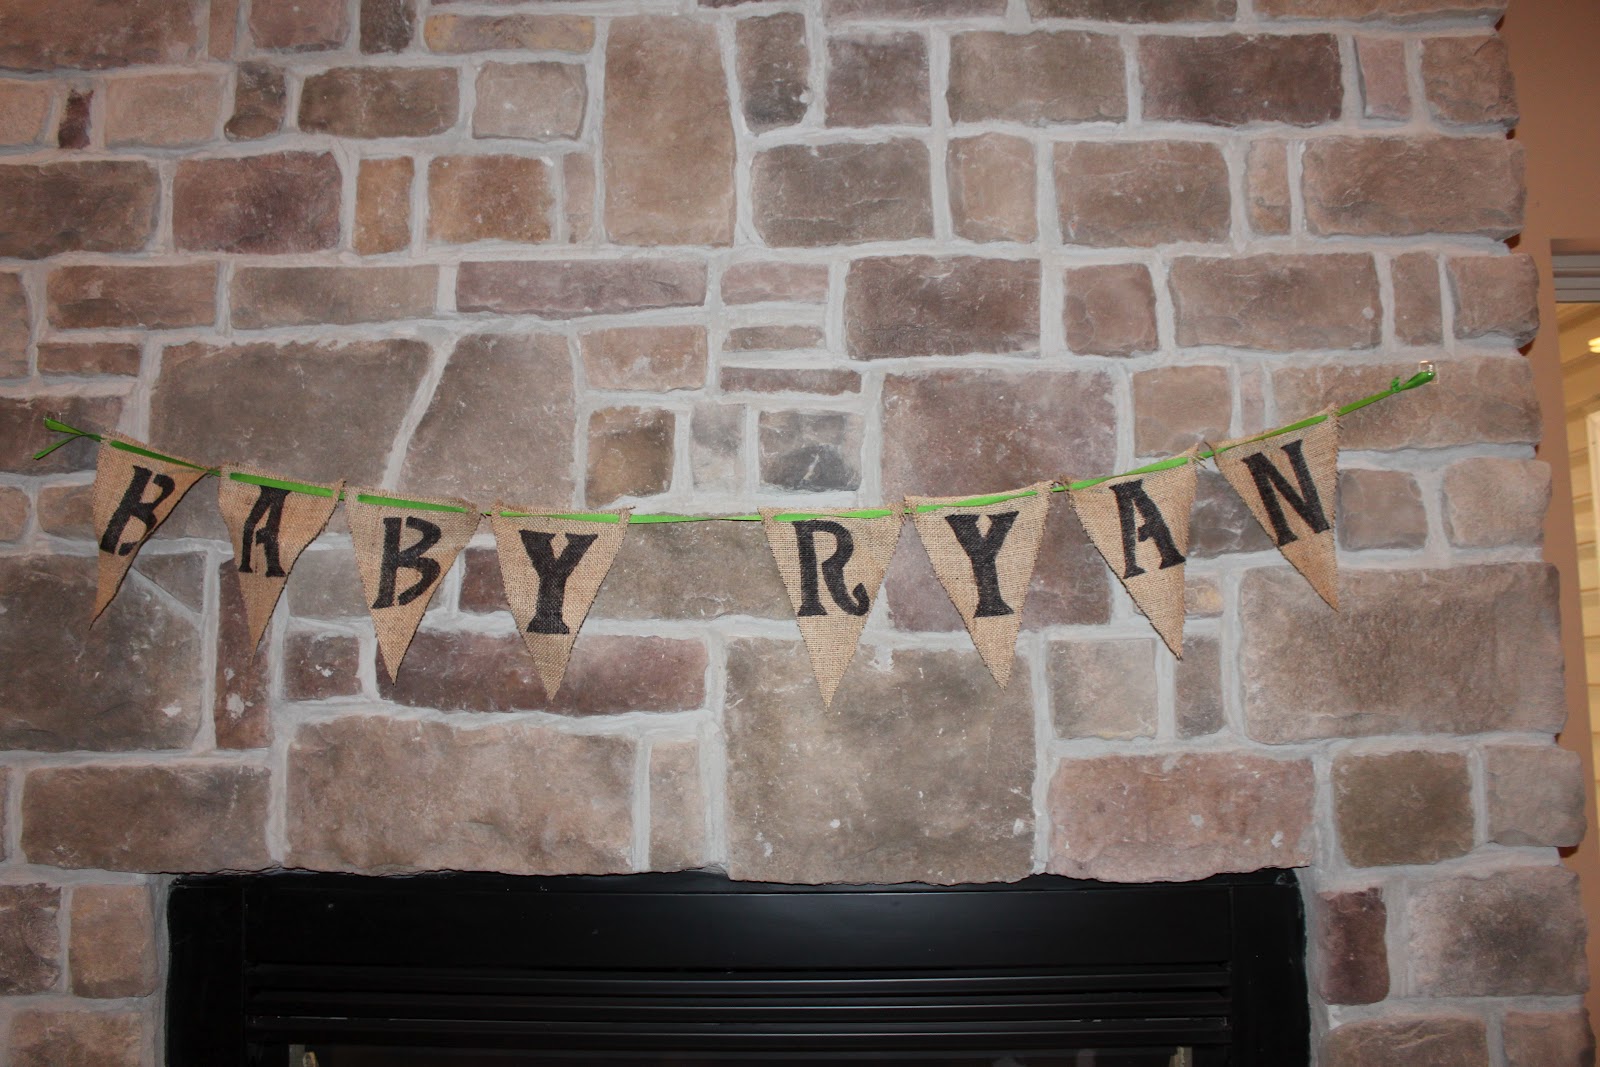
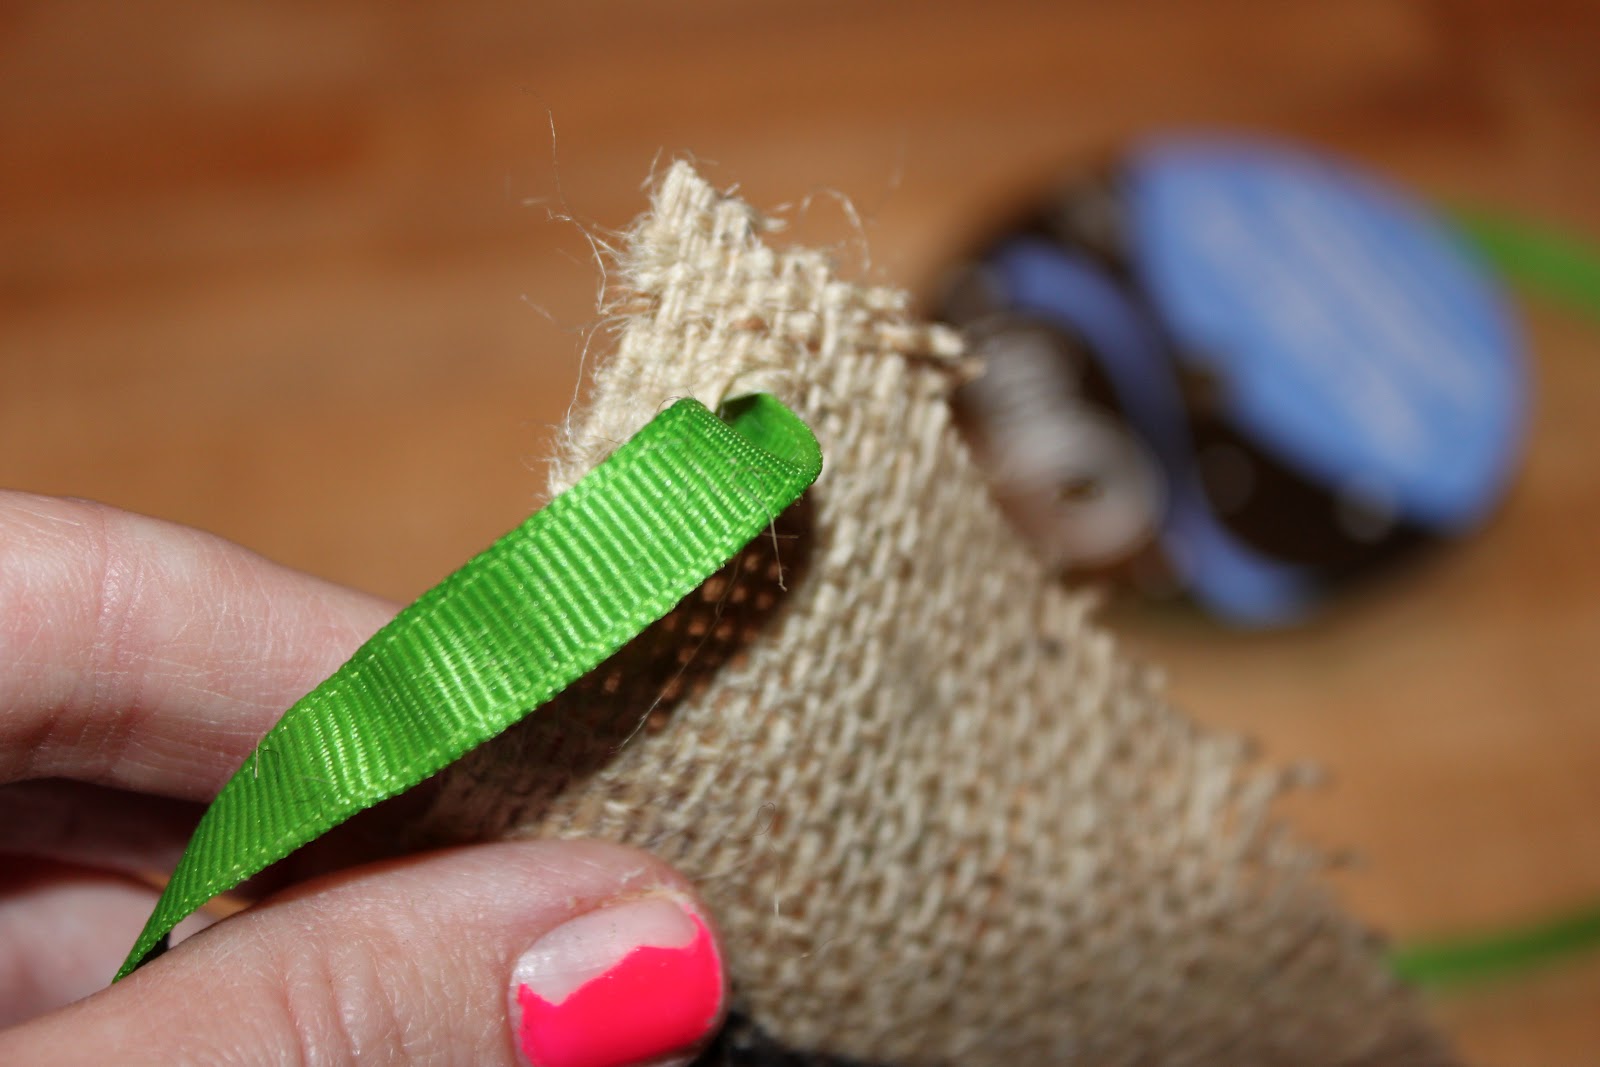
7. Once all the letters are colored in, it’s time to thread the banner. Burlap is a pretty loosely woven fabric so I just strung the ribbon through the top of each triangle in two places. In some places I needed to use scissors to help widen the hole.
Hang it up and you’re all done. Since the banner was personalized, I let the mommy to be take it home with her. I also think this kind of banner would be absolutely adorable for a rustic outside wedding.