I can’t tell you how many Christmas’ I tried to make salt dough ornaments only to be left with crumbly dough or dough that just never got hard no matter how many hours in the oven I baked it, cough 7. So imagine my excitement when I came across this recipe for dough that actually worked.
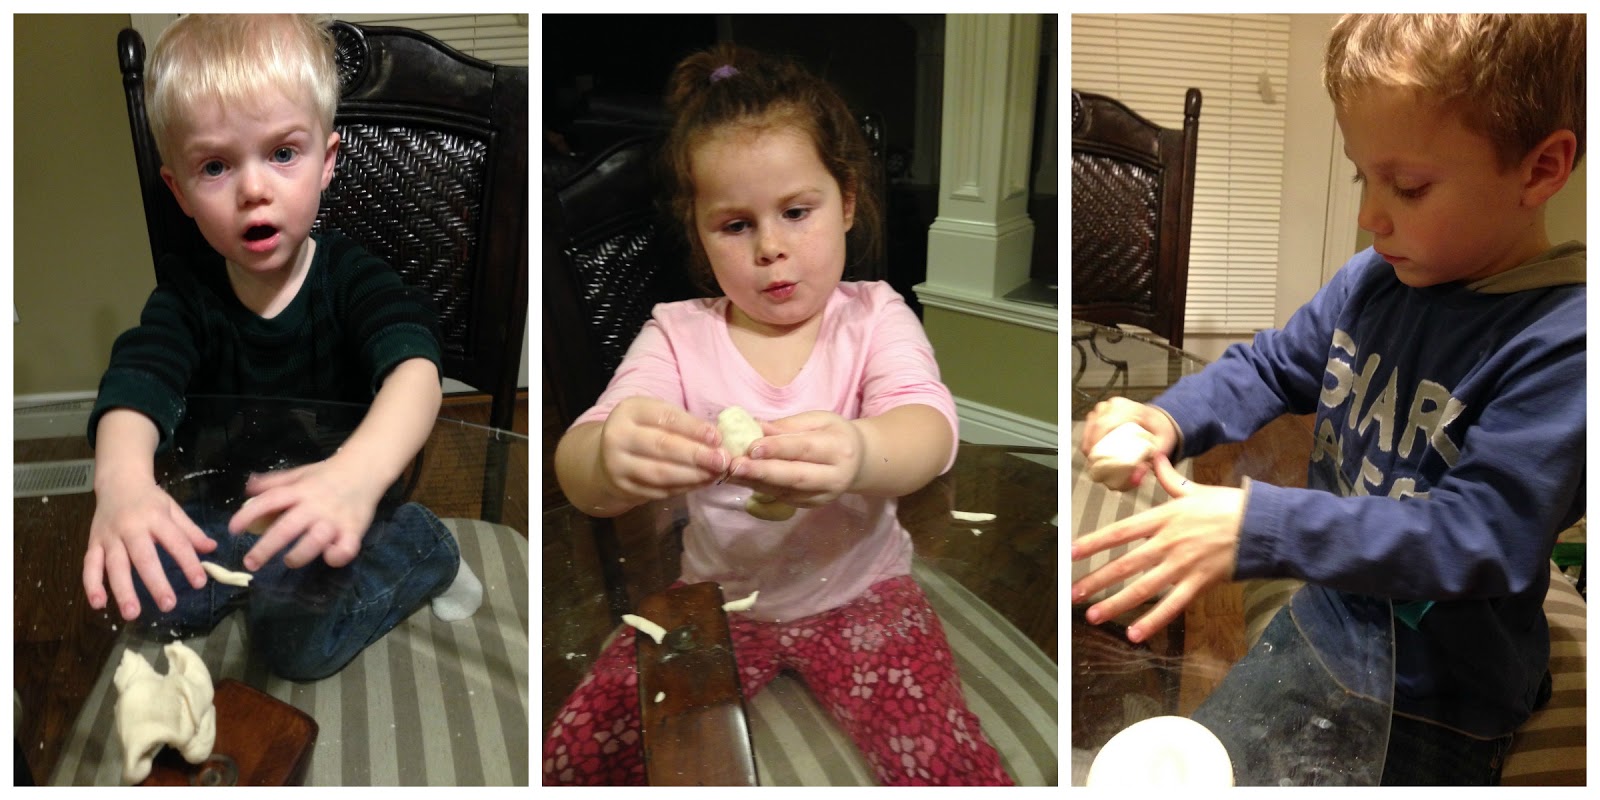
The older kids get, the harder it is to do handprint ornaments due to the size of their hands so I decided to do their fingerprints. You could also do shapes from cookie cutters, couple’s fingerprints if you don’t have kids yet, or a little doggy or kitty print if your pet is your kid.
What You’ll Need:
For the dough:
-1 cup all purpose flour
-1/2 cup salt
-1/2 cup water
For the ornament:
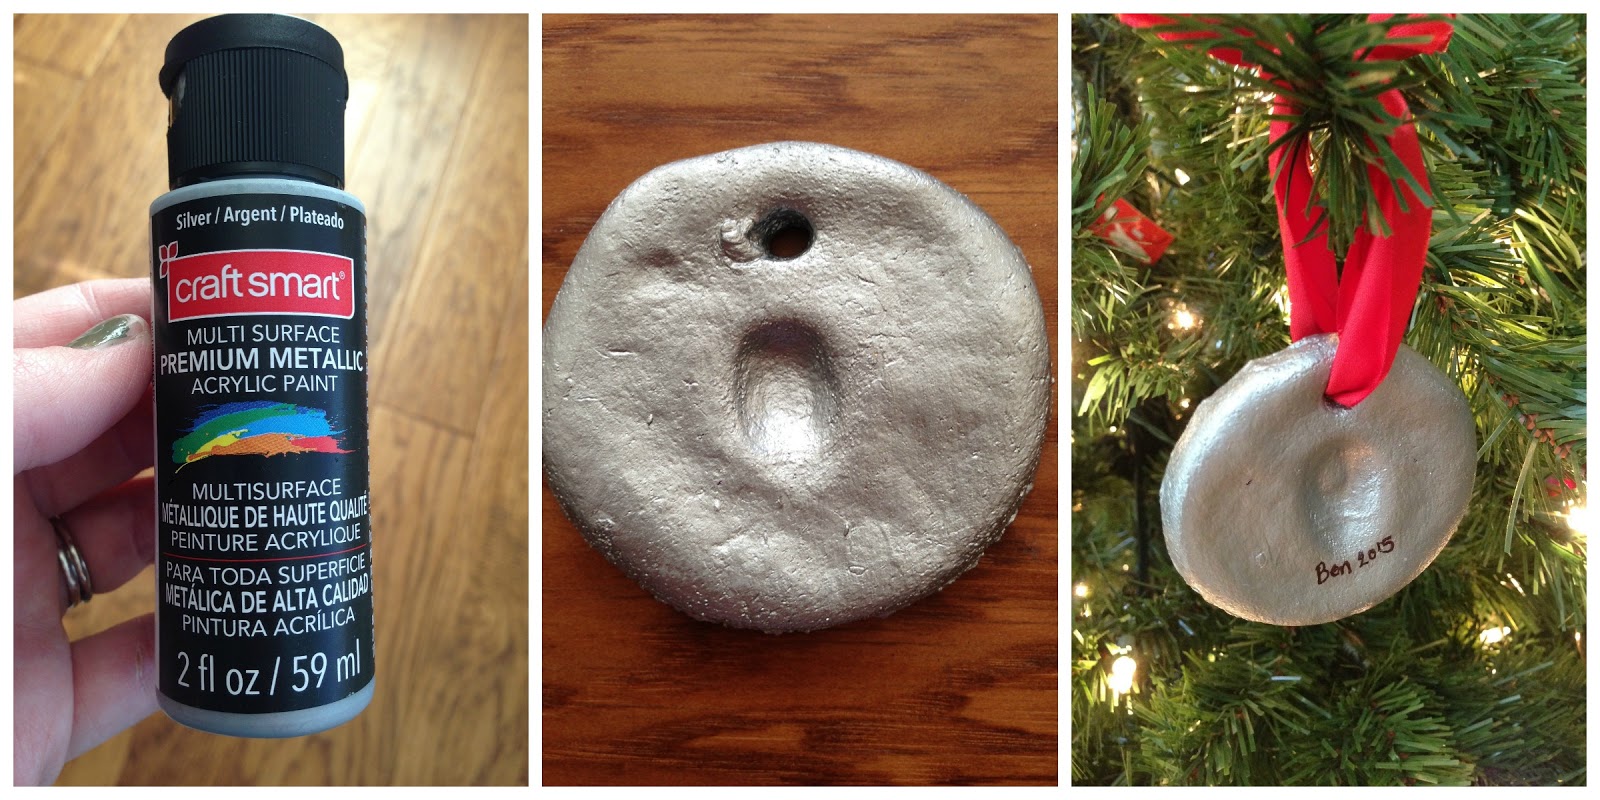
-metallic paint (can be bought at any craft store for around $1)
-straw
-ribbon
-black thin tip sharpie
What to Do:
1. Mix dry ingredients together then add wet ingredients
2. Roll out dough to 1/4in thick then cut circle using cookie cutter or the rim of a glass-you may need to add a little flour to prevent it from sticking
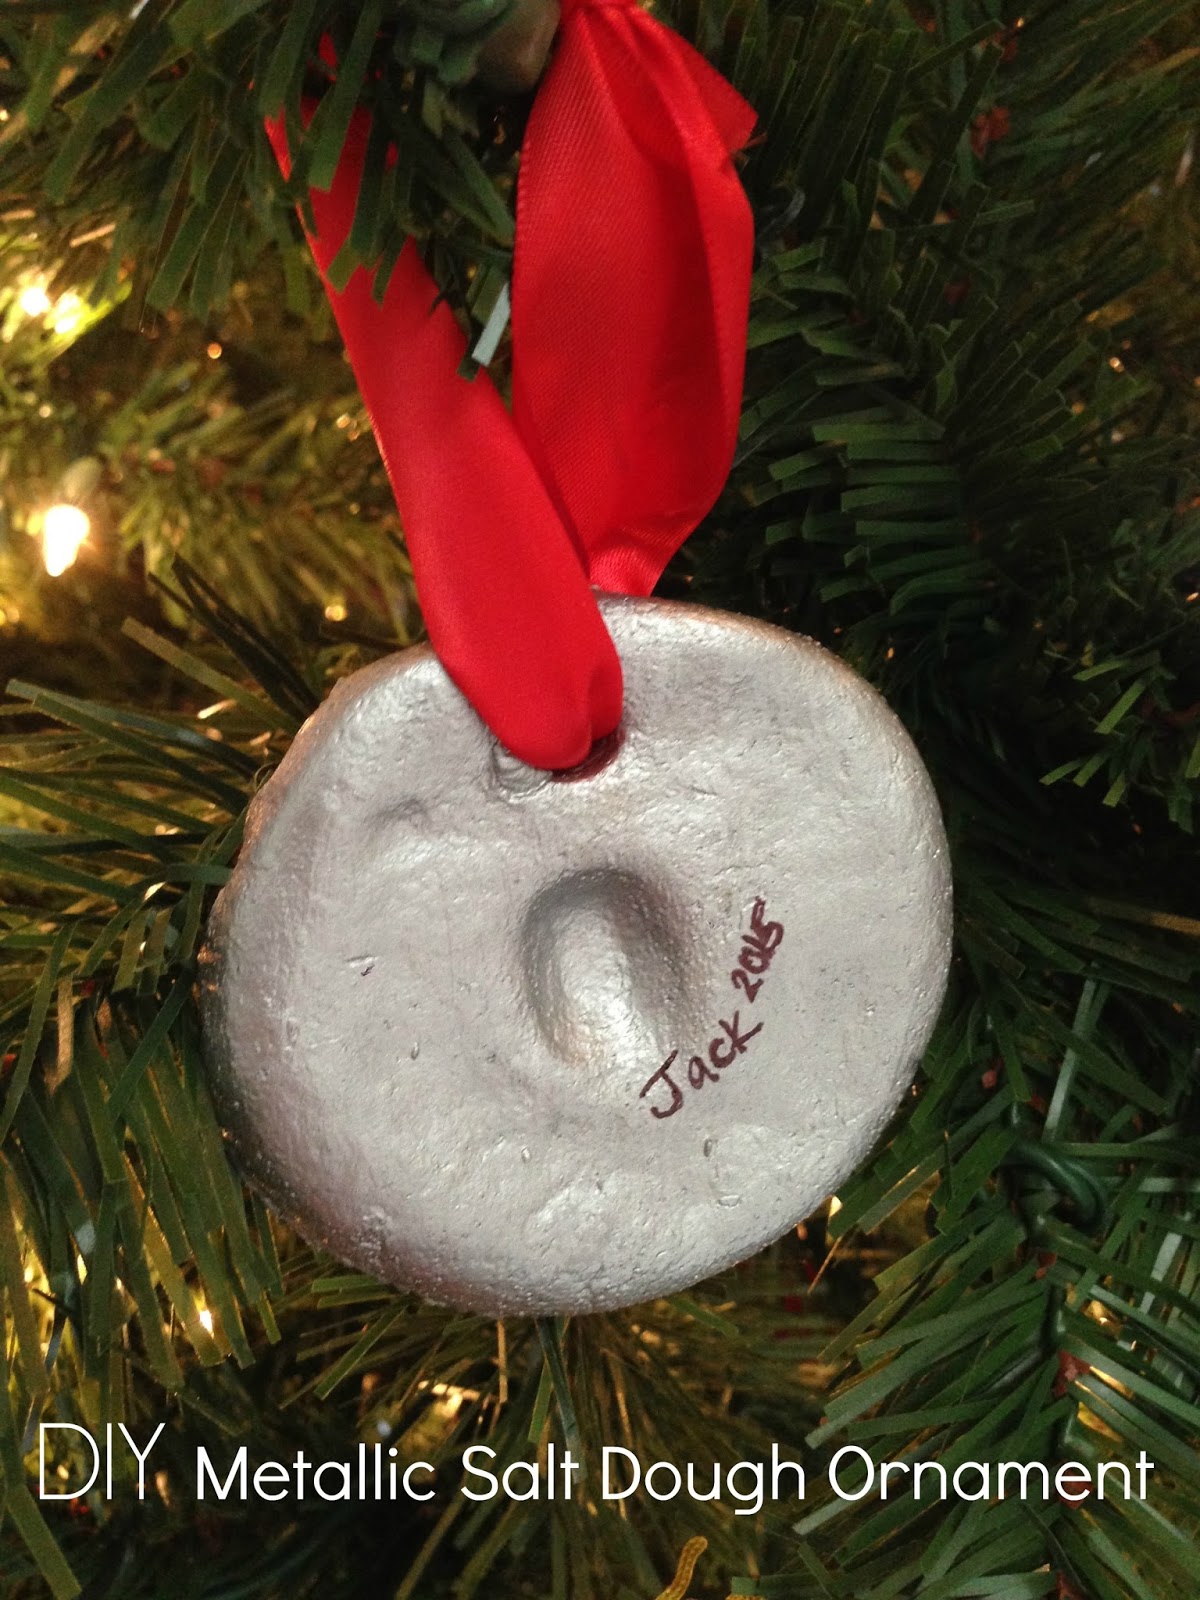
3. Press thumbprint in the circle of the dough and then use a straw to poke a hole in the top of the dough
4. Bake at 250 degrees for 2-3 hours

5. Using an acrylic metallic paint, paint the ornament and let dry. Repeat for the back of the ornament
6. Use a fine tip black sharpie to write the child’s name and year on the ornament
7. String ribbon through the hole and hang on the tree
And that’s it! Your cute little helpers will be so proud of the ornaments and you’ll need less wine because you managed to do a craft that actually worked.