J and I have celebrated 13 Valentine’s Days together. That’s 13 years of trying to find new and creative ways to let J know just how much I love him. After so many years together it’s easy to get stuck in a rut or by-pass the holiday altogether. We are pretty predictable in how we celebrate; J usually gets me flowers, we go to a nice dinner (on any day but the 14th to avoid crowds) and I get him something small like a bottle of booze or underwear.
This year I wanted to do something a little more special and thankfully, this DIY Valentine is not only super simple to put together, it doesn’t cost a lot of money or take a ton of time. And if you’ve already got your Valentine a valentine, you could even make this for a birthday, anniversary, or even Christmas.
What You Need:
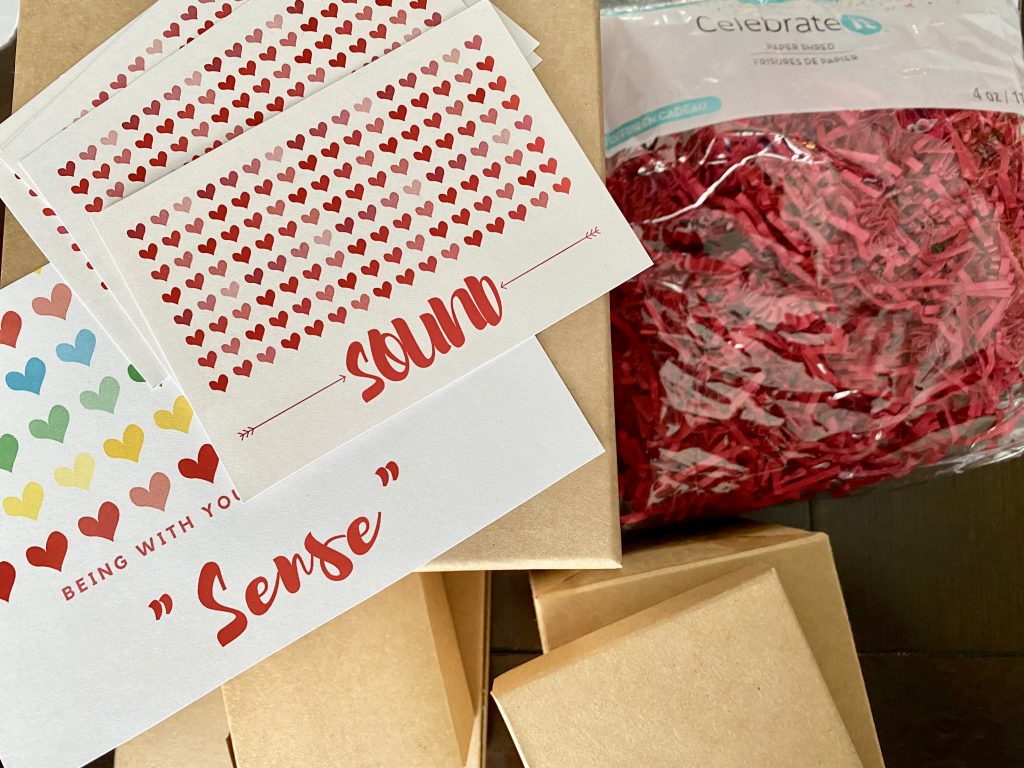
-5 boxes of various sizes (choose these after you’ve picked out your items so you get the right size)
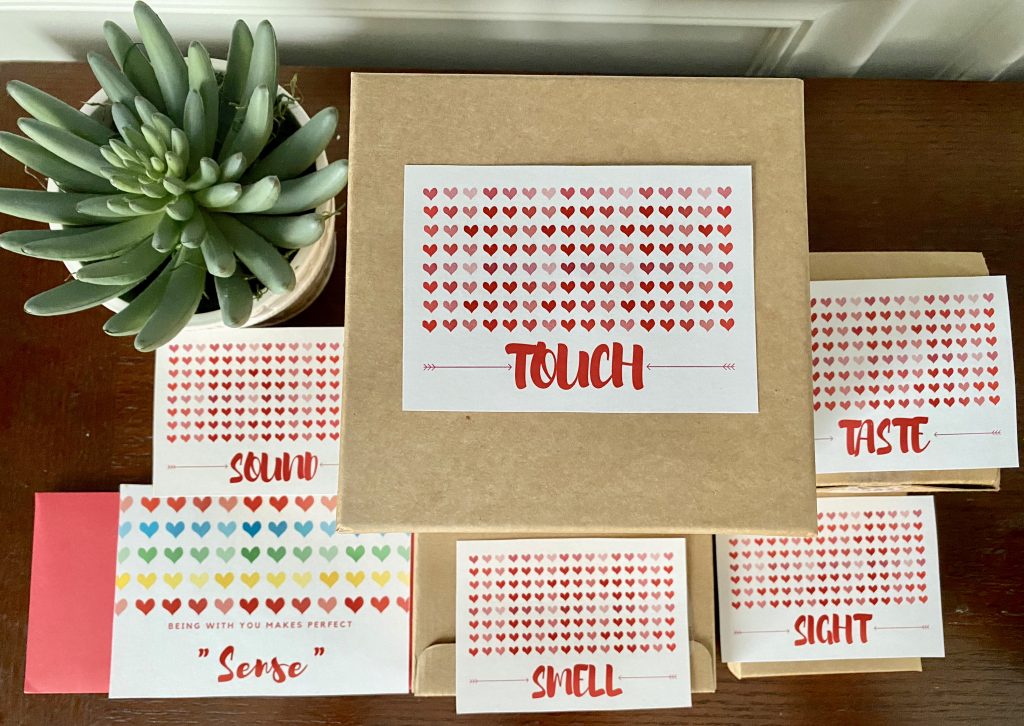
-5 labels, one for each sense (taste, touch, sight, sound, smell)
-Small gifts that match up with each sense
-Tissue paper or paper shreddings
-Scissors and tape
-Wrapping paper (optional)
What To Do:
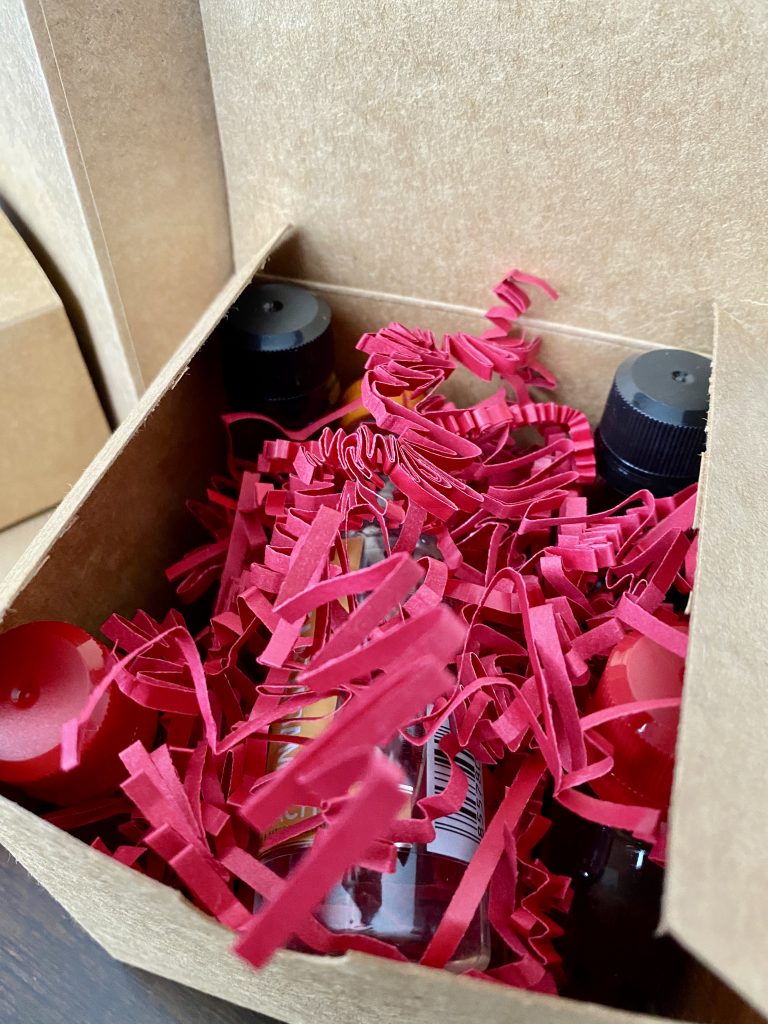
1. Select 5 small gifts that match up to the 5 senses. Here’s what I used: Gift card to our local movie theater (sight), Air freshener for the car (smell), Mini bottles of Jack Daniels (taste), Playlist of sentimental songs (sound), T-shirt that he can wear on our upcoming Disney trip (touch)
Here are some other ideas, but the possibilities are endless. The more creative you are, the more fun I think it would be.

2. Gather 5 boxes to put your items in. I bought mine at Michaels since I didn’t have any small boxes at home and didn’t want to wrap them. If you don’t mind wrapping, you can repurpose boxes you already have.
3. Place each item in a box and top with tissue paper or paper shreddings.
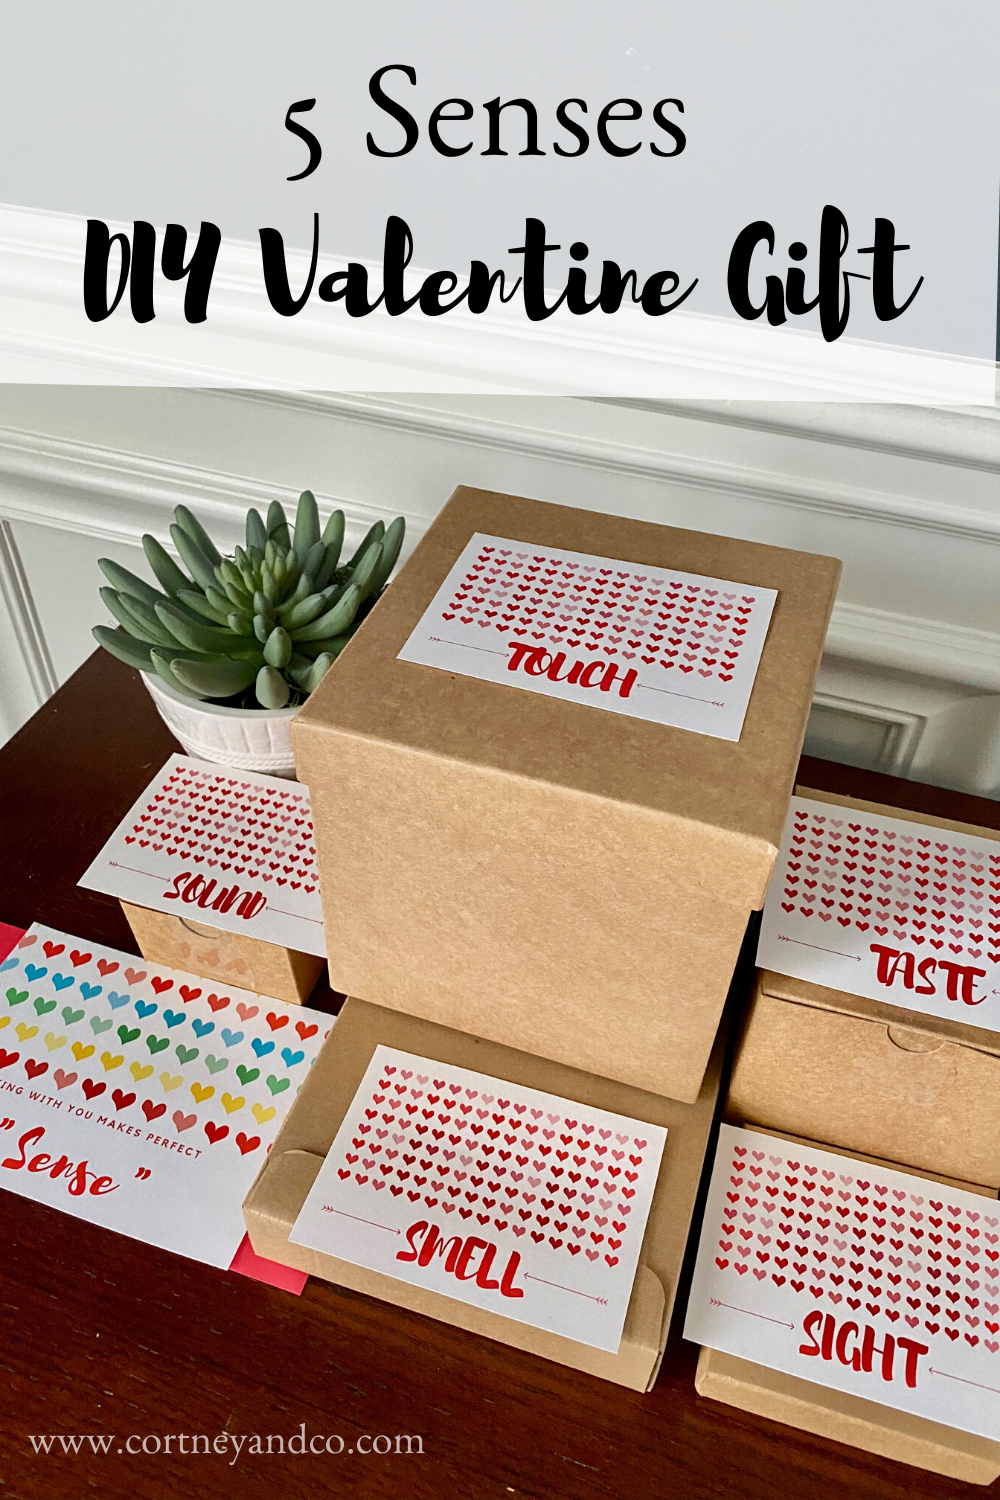
4. Download or make your own labels for the outside of the boxes. I made mine for free using Canva. You can also buy pre-made labels on ETSY or make handwritten ones. I also made an extra one that said, “Being with you makes perfect sense,” and tapped it to the front of a card envelope. You could also stick this on one of the boxes or skip this step.
5. Wrap the boxes (optional) then tape the labels to them. Arrange the boxes so each box and label can be clearly seen.
Happy gifting!
