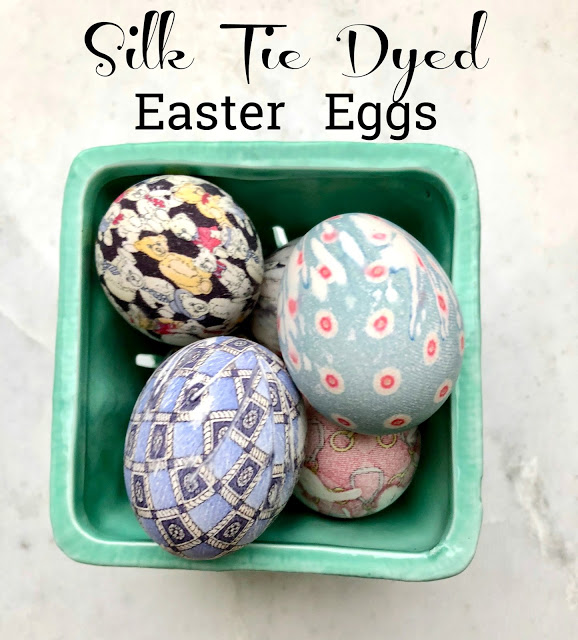
As much as I love the typical color dyed easter eggs, these silk tie dyed ones took our eggs to the next level. I was just as excited as the kids when we finally unwrapped the finished eggs to look at the patterns.
What You Need:
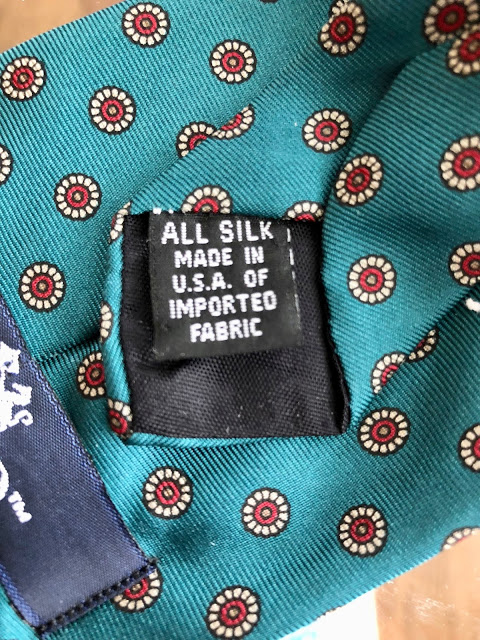
-At least 4, 100% silk ties (make sure the tie says 100% silk or all silk, if it’s not this will not work)
-A dozen eggs
-Scissors
-White cloth (old rags, cut up t-shirts, washcloths, etc.)
-24 rubber bands or hair ties
-1/2 cup vinegar
-3 cups water
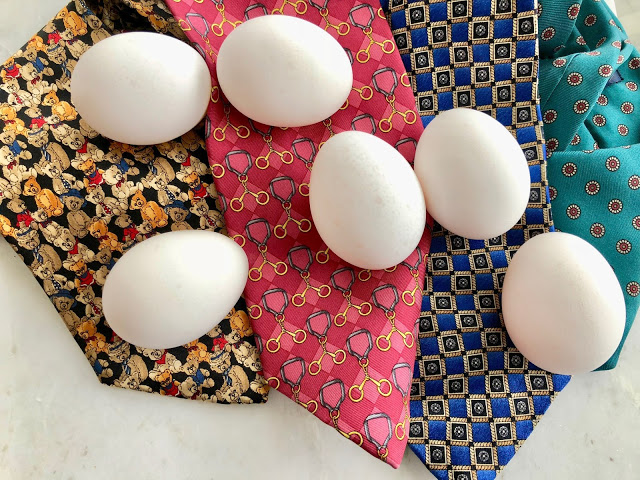
I bought my ties from Goodwill. The bolder the color or busier the pattern, the better results you’ll have.
What To Do:
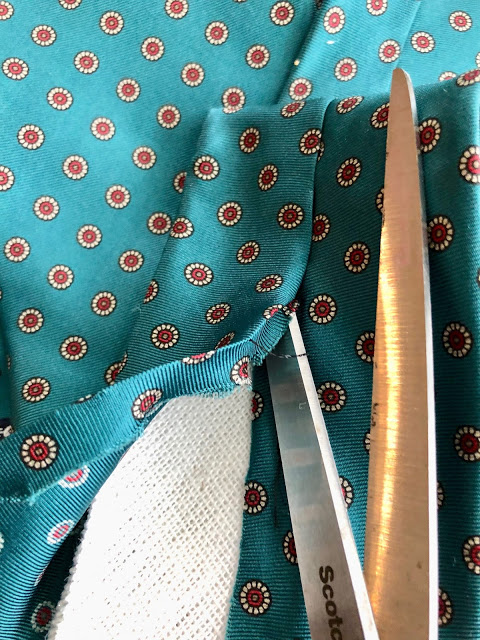
1. Begin by ripping out the seams of the tie and remove the inner lining. I used scissors and glided them along the stitch.
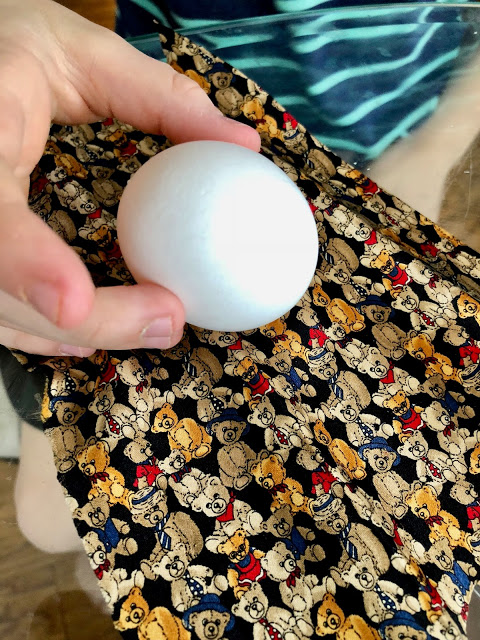
2. Once the lining is out of all the ties, cut the silk into squares. I placed the egg in the center of the fabric and pulled the fabric around the egg to make sure I had enough to cover it before I cut.
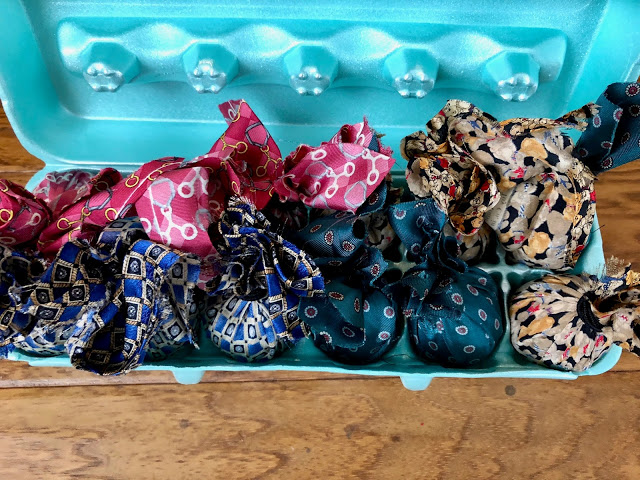
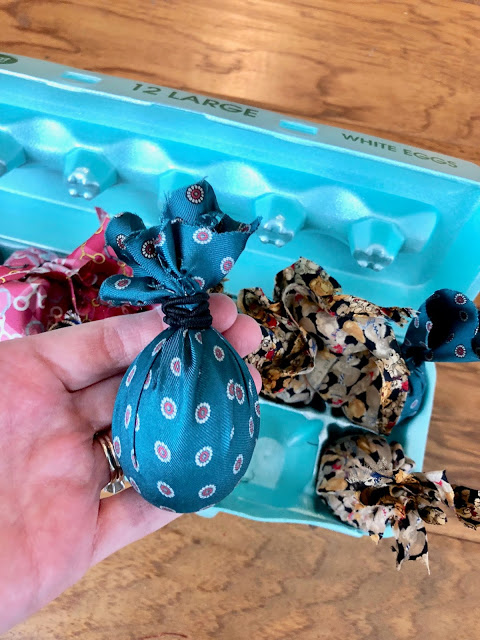
3. Rap the fabric around each egg and secure with a rubber band or hair tie. I found the hair tie was easier to remove than a rubber band. When wrapping the eggs, make sure to smooth out as many fabric lines as possible. If the fabric isn’t touching the egg evenly, the pattern won’t transfer as well and you’ll have lines on your egg.
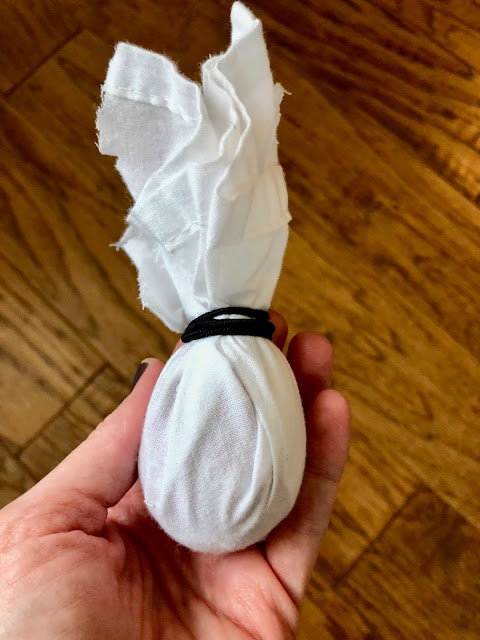
4. Repeat the wrapping steps with the white cotton fabric. It doesn’t have to be 100% cotton and I just used old cloth napkins.
5. Fill a pot with 3 cups of water and add 1/2 cup of vinegar. Bring the water to a boil and place the eggs in the pot. Make sure they are completely submerged and covered by at least 2 inches of water.
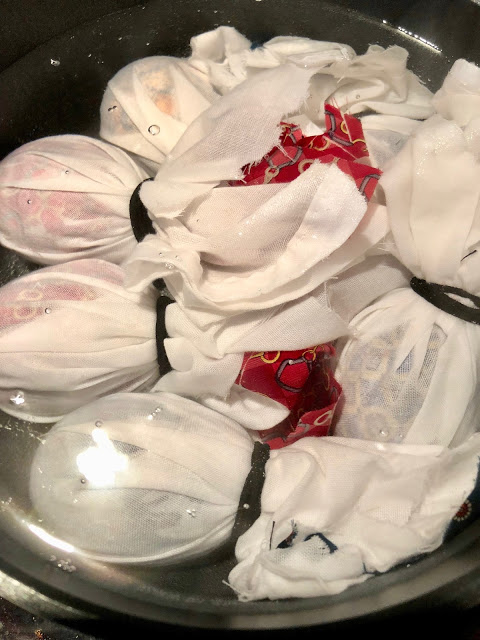
6. Boil for 20 minutes. Note: I boiled my eggs in two batches since I didn’t have a pot big enough for all 12 at one time.
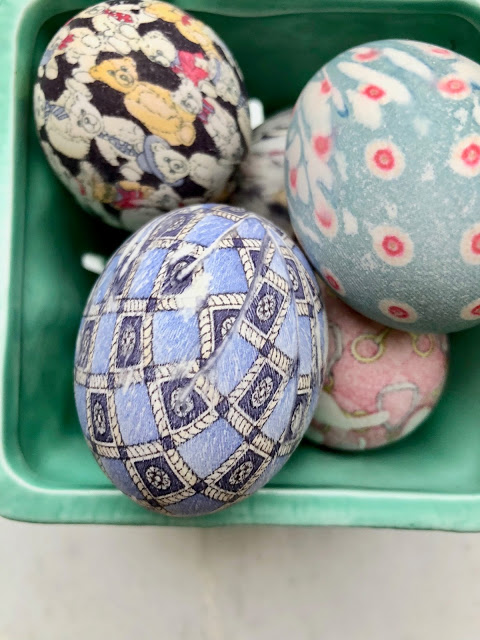
7. After 20 minutes, remove the eggs from the water. Place the eggs on a paper towel to drain and cool for ~10 minutes. Once they’re cooled, unwrap and see the surprise!


One Comment
Stephanie
So pretty! Looks super easy and fun!